FlagsBattle is a desktop game: it runs on your Windows PC, and your streaming software sends its window to YouTube. This guide uses OBS Studio, which is free and the most common choice, but the same ideas work in Streamlabs or any app that can capture a window.
What you need before you start
- A Windows PC with FlagsBattle Pro installed and your account signed in. Not there yet? See how to install FlagsBattle.
- OBS Studio (version 28 or newer, so you get the application audio source mentioned below).
- A YouTube channel with live streaming turned on. If you have never streamed before, YouTube can take up to 24 hours to enable it, so do this a day early.
- A YouTube Data API key if you want your viewers to play from the chat. That takes about five minutes; see our API key guide.
Step 1: decide what your viewers see
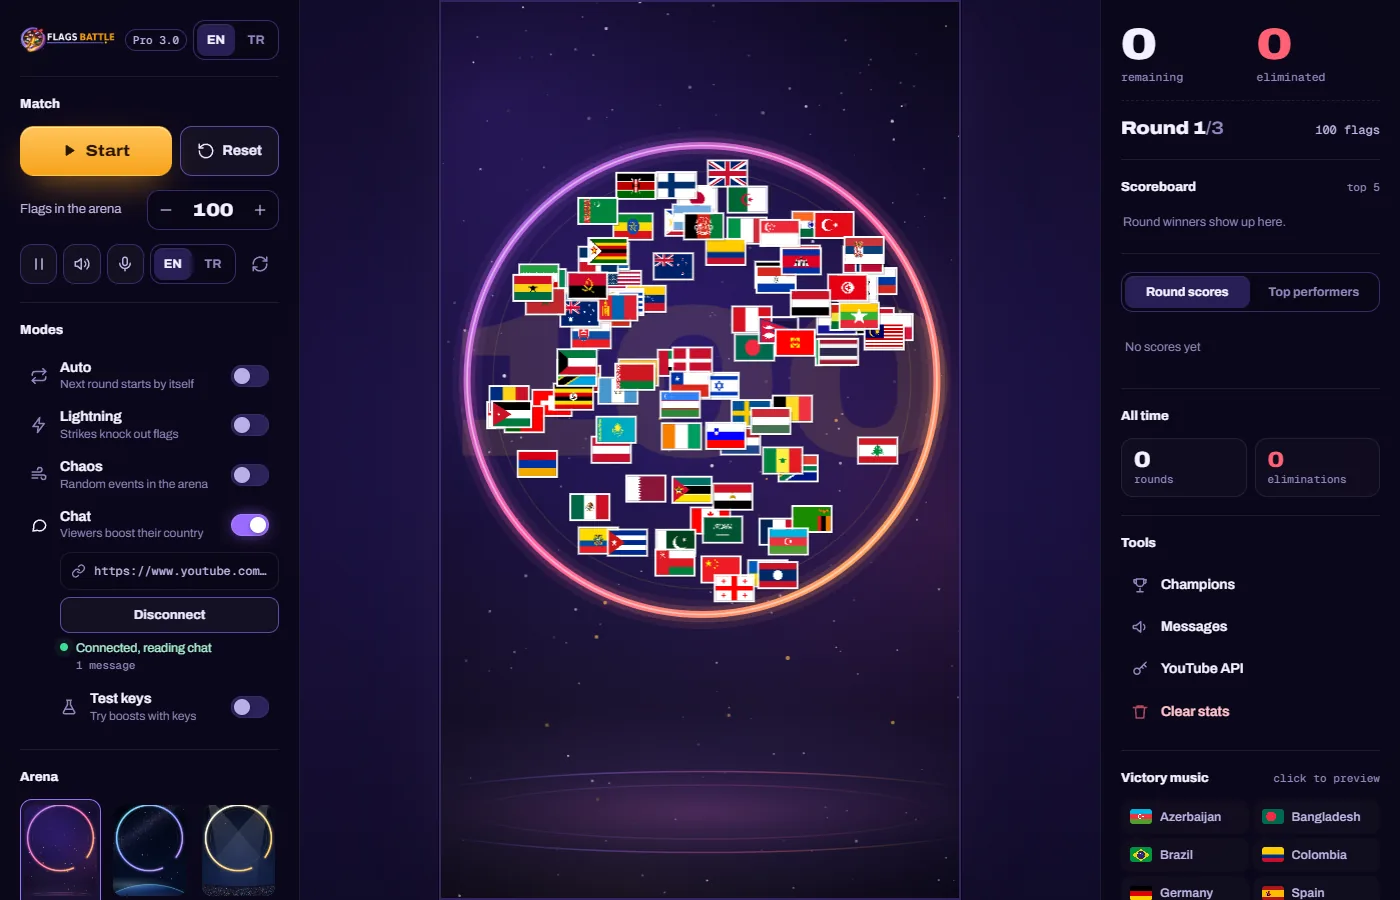
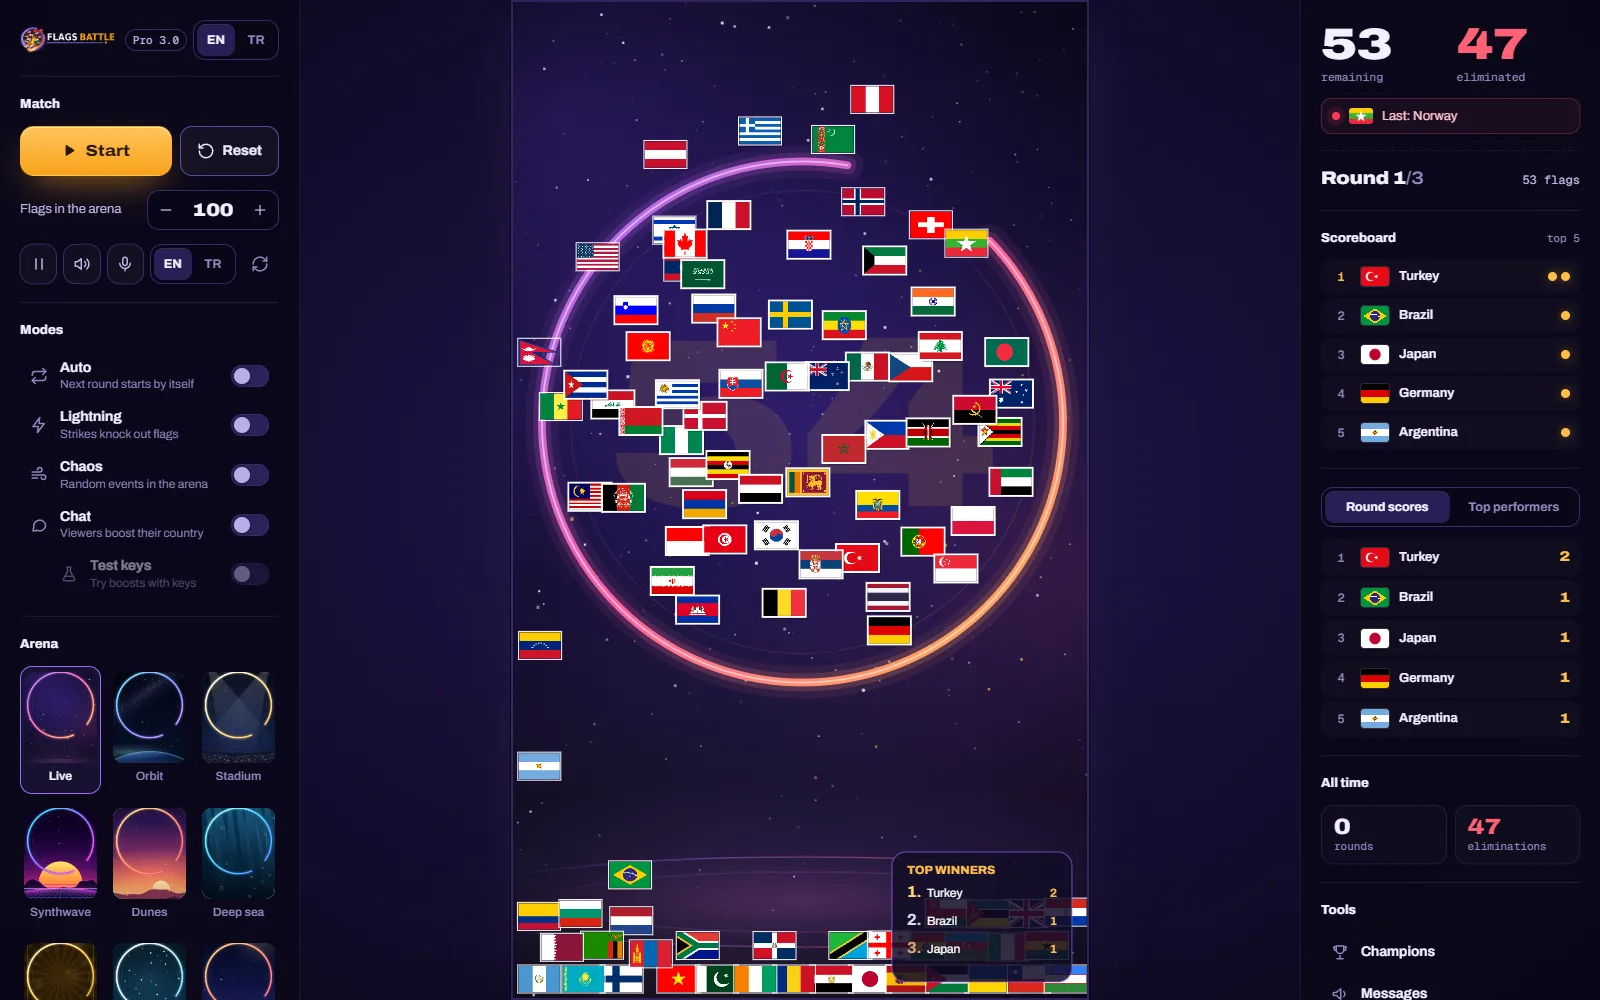
The game window has three parts: the match controls on the left, the arena in the middle and live numbers on the right. You have three good options:
- The whole window. Viewers see the scoreboard and the round counter too. Good for a "control room" feel, but the side panels are small on a phone.
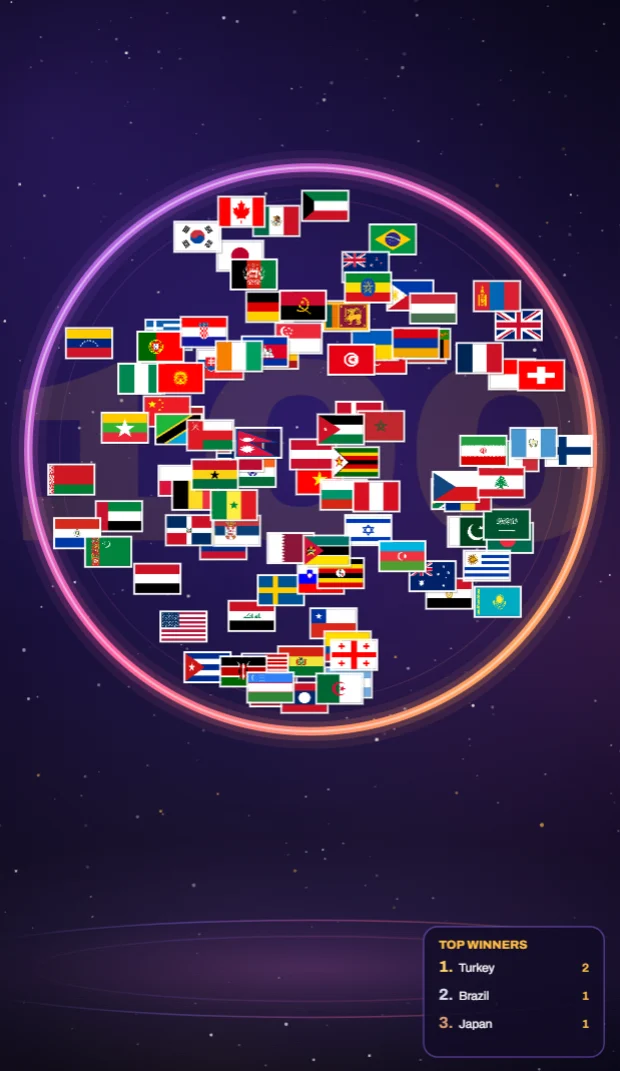
- The arena only, vertical. Crop the window to the arena. It is already a tall 11:19 shape, so it fills a phone screen almost perfectly.
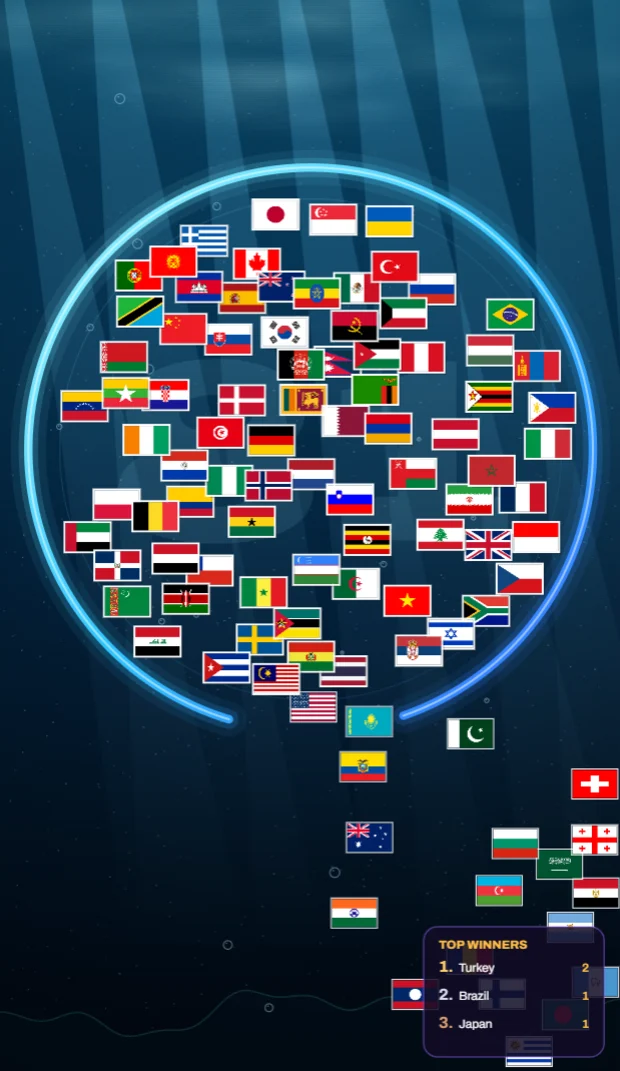
- 16:9 video mode. Turn on the 16:9 switch in the Arena panel: the side panels disappear and the arena stays in the middle of the window on a dark background. Maximise the game window and capture all of it for a wide picture. Best for long videos and TV screens. Press Esc to bring the panels back.
Not sure which to pick? Our article on vertical and 16:9 streams compares them.
Step 2: add the game to OBS
- Start FlagsBattle and leave it open.
- In OBS, under Sources, click + and choose Window Capture.
- Pick the FlagsBattle window from the list. If you see a black picture, change Capture Method to Windows 10 (1903 and up); the game is built with modern web technology and that method captures it reliably.
- To show only the arena, hold Alt and drag the edges of the source in the preview, or right-click the source, open Filters and add Crop/Pad.
Set the game window to the size you want once, before you crop. The arena always stays in the middle and keeps its size, so your crop keeps working from one stream to the next. If you resize the window during a match, the arena re-centres itself and the round carries on.
Step 3: game sound
The countdown, the hits and the winner's music are a big part of the show. In OBS 28 and newer, add an Application Audio Capture source and pick FlagsBattle: you get the game's sound on its own slider, without your browser or notifications. On older versions, the Desktop Audio source works too, but it carries every sound your PC makes.
The speaker voice that announces countries can talk in English or Turkish. Pick the language with the EN / TR buttons next to the microphone icon in the Match panel.
Step 4: connect the chat
This step is optional: the game runs and streams without it. Do it if your viewers should play from the chat, with their flag emojis supporting their country. It needs a free YouTube API key.
- Open YouTube API under Tools in the right panel, paste your key, click Save & Apply and then Test Connection. The test checks both the game's local chat server and your key, and tells you in plain words what is wrong if something is. You do this once; the game remembers the key.
- Once your stream is live, copy its link (from the watch page, the Share button or YouTube Studio) and paste it into the box under the Chat switch in the left panel. Click Connect. The line below turns green, reads Connected, reading chat and counts the messages.
From now on, every flag emoji a viewer sends supports that country in the arena.
Keep the API window closed while you are live: it shows your key, and anyone who sees it on stream could use up your daily quota.
Step 5: stream settings
- In OBS, open Settings → Stream, choose YouTube and connect your account (or paste a stream key from YouTube Studio).
- Under Settings → Video, set the canvas to 1920×1080 for a wide stream or 1080×1920 for a vertical one.
- Use the bitrate YouTube recommends for your resolution and frame rate on its "Live encoder settings" help page. On a normal home connection, 1080p at 30 frames per second is a safe start; move to 60 when you know your upload speed holds.
Step 6: run a private test
Before your first public stream, go live once as Private or Unlisted. Start a round, send a flag emoji from a second account or your phone, and watch the replay: is the arena sharp, is the sound there, does the support show up? Ten minutes of testing saves an awkward first stream.
If something goes wrong
- Black capture: change the capture method (step 2), or capture the whole display instead of the window.
- Chat does nothing: read the line under the Chat switch; it says what is wrong: the stream is not live yet, the link is not a video link, there is no API key, or today's quota is used up. Run Test Connection to check the key itself.
- The stream stutters: close other heavy programs and lower the OBS output resolution before you lower the game's quality. The game itself is light: its arenas are drawn once and reused, so it leaves room for the encoder.
One-minute checklist before every stream
- Game open, signed in, arena theme picked.
- OBS shows the game, cropped the way you want.
- Game sound moves the meter in OBS.
- If you use the chat: live link pasted, status line green (Connected, reading chat).
- API settings window closed.